This tutorial provides basic information about the pipeline in Jenkins. We’ll walk through add-ons installation, job creation, and move on to the process of processing the code in the stage.
When installing Jenkins, the system prompts you to install the pipeline plugin by default. Probably in our system exist it. But if the plugin is not installed, go to the start page of the Jenkins web interface and go to the Manage Jenkins section:

Click on Manage Plugins:
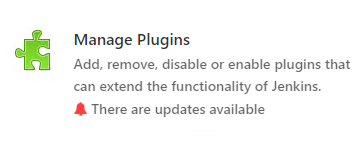
Go to the Available tab and look for the plugin we need by the word “pipeline”. We will get a lot of results – we need a plugin called “Pipeline”:

At the bottom of the screen, click Install without restart:

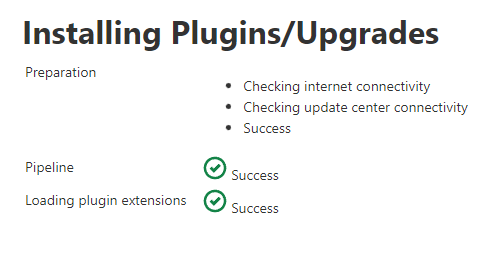
We will see a complete list of components that will need to be installed for the plugin – we are waiting for the end of the process (we should see “Success” or “Success”):
When the installation is completed, you can return to the main page by clicking on the link of the same name:
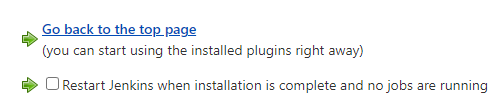
The system is ready to create a pipeline.
Creating and configuring a task in Jenkins
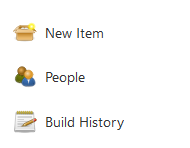
On the main page of Jenkins, click on Create Item:
We give a name to our task and select Pipeline below:
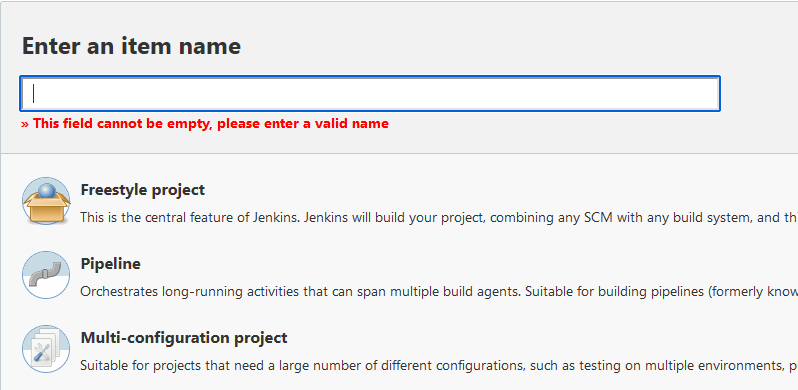
Press the OK button:

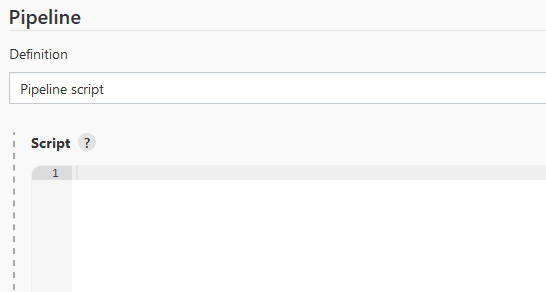
Scroll down the page to the “Pipeline” subsection – here we write the Groovy script:
We also have the ability to use the Git repository as the source of the Jenkinsfile by selecting Pipeline script from SCM and Git in the “Definition” subsection:
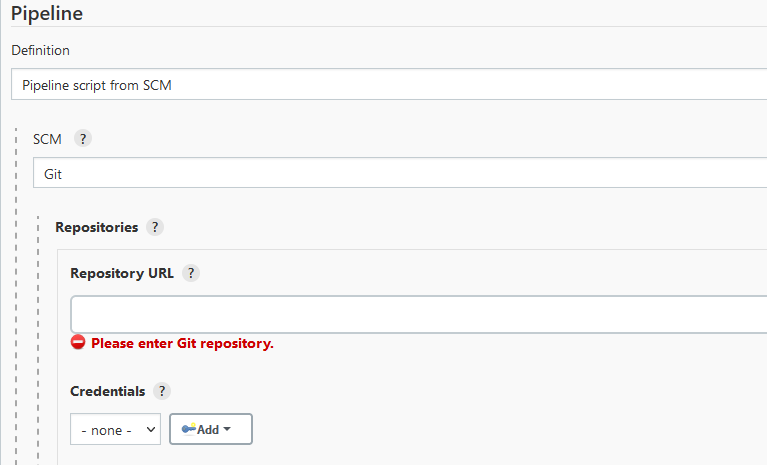
… but in this tutorial we will consider writing code directly in Jenkins.
First, let’s write a greeting:
pipeline {
    agent any

    stages {
        stage('Hello') {
            steps {
                echo 'Hello World'
            }
        }
    }
}
There are 2 ways to write a pipeline – scripted and declarative. Our example uses the latter. Due to the strict syntax, it is easier to read – a declarative pipeline must have:
Pipeline directive. We wrap our code in it.

Agent definition. In our example, a specific one (agent any) has not yet been set, but  below we will look at starting a pipeline in docker.

The stages directive is needed, which, in turn, defines the stages (stage).

Be sure to specify the steps, in which our code will be.
As well as:
Some characters can be escaped with a backslash - \\\\

A block of text, for example, to write it in several lines, can be wrapped in three     single quotes - '''

You can leave a comment on one line with two forward slashes - //

We do the comment block like this - /* comment */
And click Save:

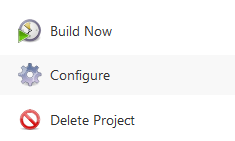
We will be redirected to the task page – on the left, click on Build Now:

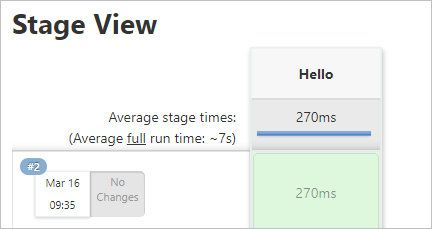
The pipeline will run a bit and produce a result consisting of one step:
The created task works – let’s try to complicate it.
Breaking down processing into stages in Jenkins
We open our task for editing:
Move down and write the following Groovy code:
pipeline {
    agent any

    stages {
        stage('Build') {
            steps {
                echo 'Execute commands for builds'
            }
        }
        stage('TEst') {
            steps {
                echo 'Testing our build'
            }
        }
        stage('Deployment') {
            steps {
                echo 'Transferring code to production or creating an artifact'
            }
        }
    }
}

After it completes, we should see something like this:
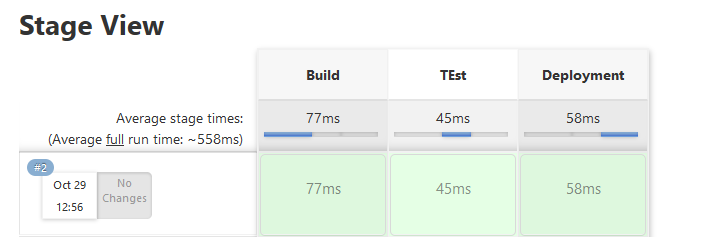
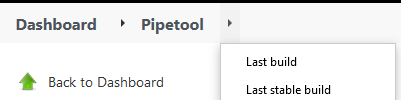
Let’s try to look at the execution result in a little more detail – click on the arrow image to the right of the task name and select Last stable build (or just Latest build):
Click on Console Output:
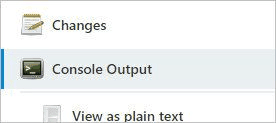
We should see the output of all the comments and commands that were run during the build.