Server preparation:
Let’s first update the list of packages in the repositories, set the correct time and open ports in the firewall.
Update package lists:
apt-get updateSet the timezone:
timedatectl set-timezone Europe/LondonTo automatically synchronize the time, install the package:
apt-get install chronyAnd enable autostart of the service:
systemctl enable chronyFirewall settings:
By default, Ubuntu’s firewall is set to accept any packets. But if we have it configured to block, we need to add ports 80 and 443.
iptables -I INPUT -p tcp --dport 80 -j ACCEPTiptables -I INPUT -p tcp --dport 443 -j ACCEPTAnd to save the rules, install iptables-persistent:
apt-get install iptables-persistentand finally:
netfilter-persistent saveInstalling GitLab
We will perform the installation in two steps – installing the necessary components and, in fact, installing GitLab.
Required Components:
apt-get install curl openssh-server ca-certificatesTo send notifications, install postfix as well:
apt-get install postfixWhen requesting the configuration type, select Internet Site (if notifications should be sent outside) or Local only (notifications within the server):

Installing GitLab
Let’s install the repository.
curl https://packages.gitlab.com/install/repositories/gitlab/gitlab-ce/script.deb.sh | sudo bashAfter installing the repository, we proceed to install GitLab.
apt-get install gitlab-ceIf the installation was successful, we should see:
It looks like GitLab has not been configured yet; skipping the upgrade script.

       *.                  *.
      ***                 ***
     *****               *****
    .******             *******
    ********            ********
   ,,,,,,,,,***********,,,,,,,,,
  ,,,,,,,,,,,*********,,,,,,,,,,,
  .,,,,,,,,,,,*******,,,,,,,,,,,,
      ,,,,,,,,,*****,,,,,,,,,.
         ,,,,,,,****,,,,,,
            .,,,***,,,,
                ,*,.


     _______ __  __          __
    / ____(_) /_/ /   ____ _/ /_
   / / __/ / __/ /   / __ `/ __ \\
  / /_/ / / /_/ /___/ /_/ / /_/ /
  \\____/_/\\__/_____/\\__,_/_.___/


Thank you for installing GitLab!
Configuring the web address:
For the portal to start and work correctly, we have to set the external_url. To do this, open the file:
nano /etc/gitlab/gitlab.rbWe only need to change the external_url parameter:
external_url 'http://gitlab.automationtools.me'*this setting indicates that our web tool will respond to requests that come to the gitlab.automationtools.me node – this means that this name must be registered in DNS or registered in the local hosts file.
Let’s do the configuration:
gitlab-ctl reconfigureThis operation will take some time.
Login to the web interface:
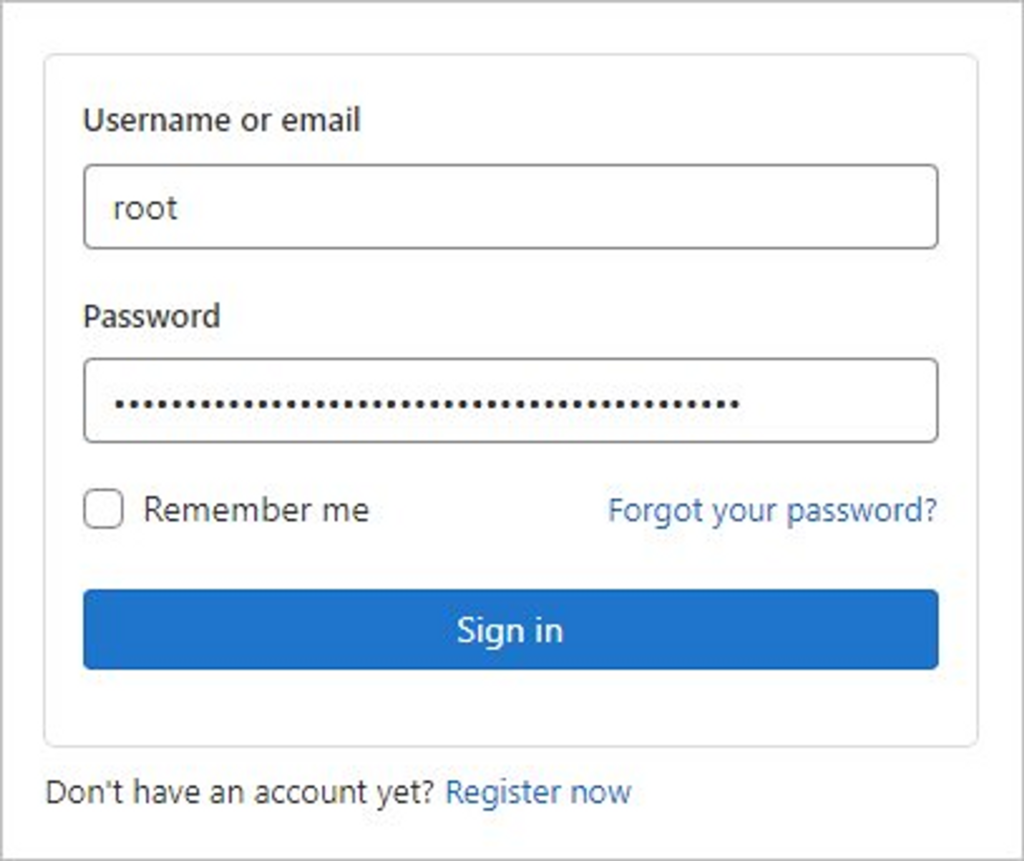
We open the browser and enter our address, which we specified in the settings in the external_url option – in this example, http://gitlab.automationtools.me. We should see an authorization page that will ask us for an administrator password.
You can view the password that was assigned to the user after installation in the /etc/gitlab/initial_root_password file:
cat /etc/gitlab/initial_root_password | grep Password:We enter as the root user and the password that we looked at in the file:

As a result, we get into our new local gitlab.